
Concrete Chamfer Strips: The Direct Answer Before the Details
Concrete chamfer strips are narrow triangular or curved profiles placed inside formwork corners to cut a beveled or rounded edge into a poured concrete element instead of a sharp 90-degree edge. The chamfer removes the weakest, most fragile part of a concrete corner, which is exactly why almost every precast concrete chamfer detail on columns, beams, panels, and slabs specifies one. A properly sized chamfer strip, typically between 10mm and 25mm on each face, reduces edge chipping during stripping, handling, transport, and site installation by removing the thin, unsupported wedge of concrete that would otherwise sit at a true right angle.
The choice of material matters as much as the size. PVC and rigid plastic chamfer strips remain embedded in the concrete as a permanent, paintable finish, while rubber and magnetic chamfer systems are removed after the concrete cures, leaving a clean beveled edge with no foreign material left behind. Both approaches solve the same structural problem in different ways, and the right one depends on whether the precast yard values speed of stripping, surface finish quality, or long-term reuse economics.
Beyond the basic definition, chamfer strip selection touches on formwork design, curing schedules, reinforcement detailing, quality control procedures, and even the transport packaging used for finished units. The rest of this guide works through each of those areas in depth, because a chamfer strip that looks identical to another on a supplier's catalog page can behave very differently once it is fixed to a form and put through a full production cycle.
Why Precast Yards Rely on Chamfer Strips
Sharp concrete corners are mechanically weak. Concrete has almost no tensile strength, and a 90-degree edge concentrates stress at a single line with very little mass behind it to resist impact. The moment that edge is knocked against a forklift tine, a stacking rail, or another panel during transport, it spalls. Once it spalls, the exposed aggregate looks unfinished, the steel reinforcement cover can be reduced below the design minimum, and the piece may need patching or rejection before it ever reaches the job site.
A chamfered edge distributes that same impact across a wider surface and removes the thin unsupported wedge entirely. Precast concrete chamfer details are now written into most architectural precast specifications not as a cosmetic preference but as a documented damage-reduction measure, because rejected or repaired panels cost far more than the chamfer strip itself.
- Reduces edge chipping and spalling during demolding and handling
- Improves reinforcement cover consistency near corners
- Gives a cleaner, more finished visual line on exposed architectural faces
- Makes stripping easier because the bevel breaks suction between form and concrete
- Lowers the risk of injury from sharp edges during site handling
- Reduces the amount of patching and rubbing-down labor needed after stripping
- Helps concrete elements stack and nest more predictably in yard storage
There is also a less obvious economic argument. Every rejected panel consumes the same cement, aggregate, steel, and crane time as an accepted one, but produces no revenue and adds disposal or rework cost on top. A yard producing several hundred panels a month can trace a measurable share of its rejection rate directly to corner damage, and chamfer strips are one of the cheapest line items in the entire formwork budget relative to the loss they prevent.
Main Types of Concrete Chamfer Strips
Producers choose between four broad material families, and each behaves differently once concrete is poured against it.
PVC Chamfer Strips
PVC strips are nailed or stapled to the inside face of the formwork and stay embedded in the finished concrete. They come in a range of standard bevel widths and are the most common choice for architectural precast where a crisp, permanent edge is wanted without a secondary finishing step. Because the strip becomes part of the finished surface, color and UV stability matter for exposed exterior applications, and many producers specify a UV-stabilized PVC compound so the embedded strip does not discolor or become brittle over years of weathering.
Rubber Chamfer Strips
Rubber strips flex slightly during stripping, which helps them separate cleanly from cured concrete without leaving surface pitting. They are reusable across dozens of pours before the edge wears down, making them popular in high-volume precast operations that pour the same beam or panel profile repeatedly. The flexibility that makes rubber strips easy to strip also makes them slightly more prone to bowing under heavy vibration if fixing points are spaced too far apart, so installation discipline matters more with rubber than with rigid PVC.
Magnetic Chamfer Strips
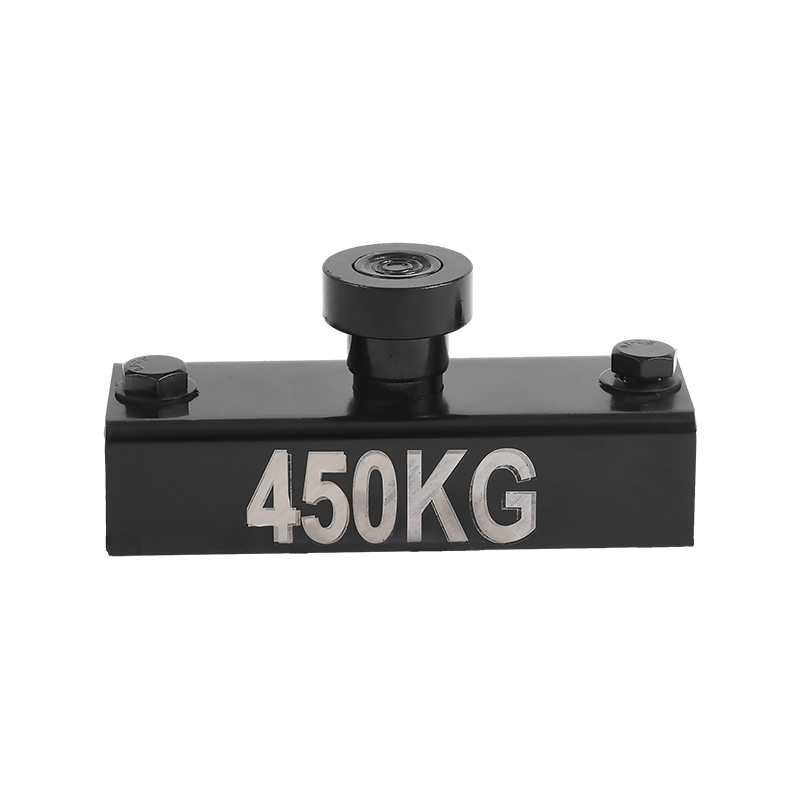
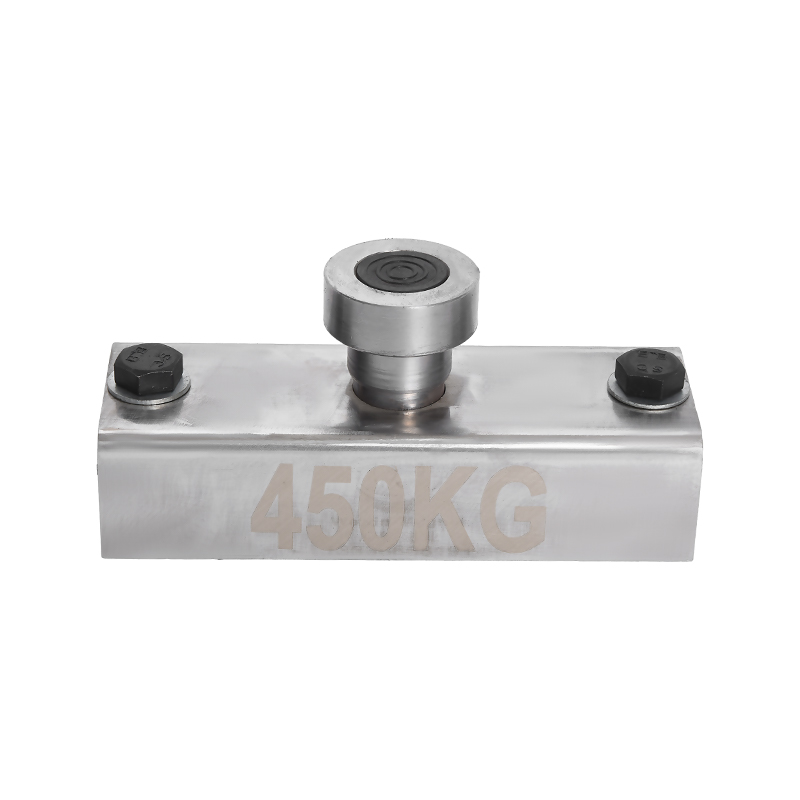
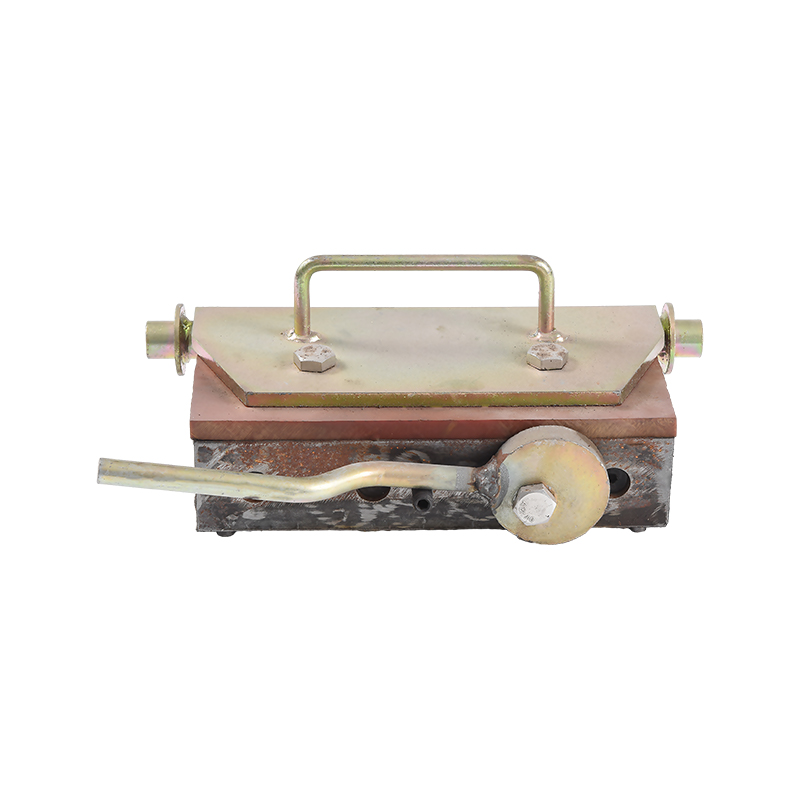
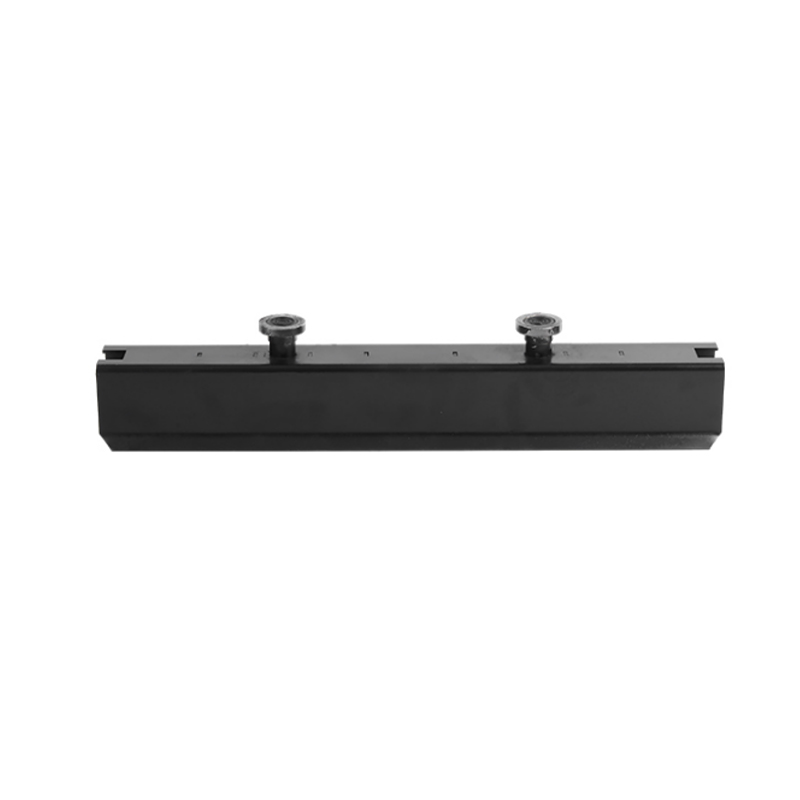
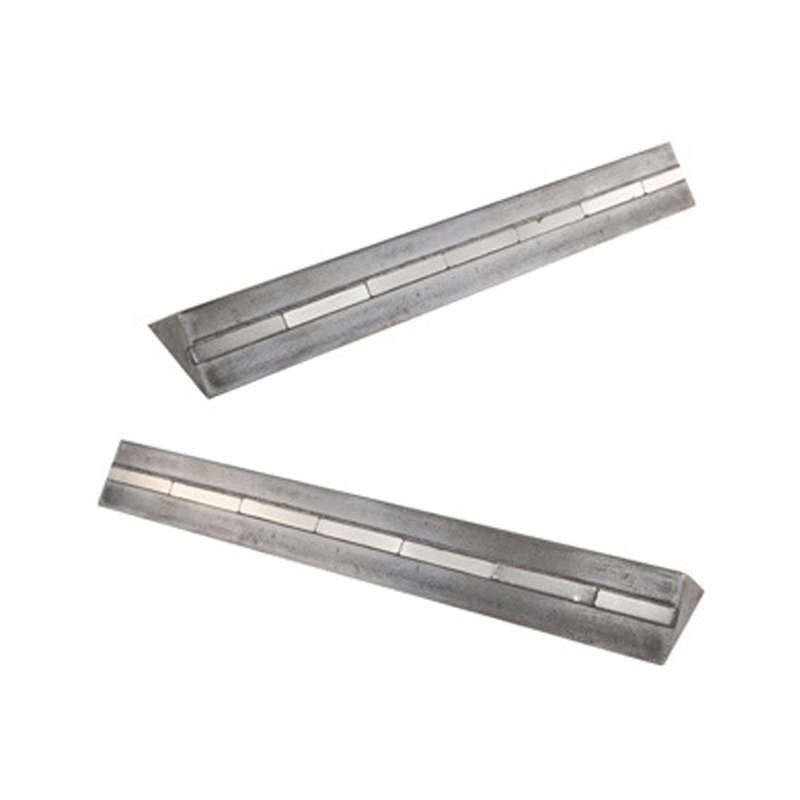
Magnetic chamfer systems clamp to a steel form bed using embedded magnets, which means no nailing, no drilling, and almost no form damage between pours. They are widely used with shuttering magnet systems on steel casting tables because setup and strike time drop sharply compared with nailed strips, and the same strip can be repositioned in seconds for a different pour layout. This category has grown the fastest over the past several production cycles because it directly reduces the two most labor-intensive steps in a casting cycle: form setup and form strike.
Wood and MDF Chamfer Strips
Timber battens milled to a 45-degree or radius profile are still used on site-cast work and one-off formwork where a custom size is needed and reuse count is low. They are inexpensive per unit but degrade faster under repeated stripping cycles than rubber or magnetic alternatives, and moisture absorption can slowly distort the bevel angle if the same batten is reused across many pours without resealing.
Foam and Extruded Polystyrene Strips
For very large or custom bevel profiles that would be uneconomical to mold in PVC, some formwork carpenters cut chamfer strips directly from closed-cell foam sheet. This approach is common on bespoke architectural precast where the bevel dimension does not match a standard catalog size, though it is generally a single-use solution and is rarely chosen for repetitive production runs.
| Material | Reusable | Typical Setup Method | Best Fit |
|---|---|---|---|
| PVC | No, stays embedded | Nailed or stapled | Architectural precast panels |
| Rubber | Yes, dozens of pours | Nailed or adhered | Repetitive beam and column casting |
| Magnetic | Yes, hundreds of pours | Magnetic clamp to steel bed | Steel form batching plants |
| Wood or MDF | Limited, a few pours | Nailed to timber form | Custom or one-off site formwork |
| Foam or EPS | No, single use | Cut and glued to form face | Custom bevel profiles, bespoke architectural work |
Chamfer Profiles: Triangular Bevel, Bullnose, and Drip Groove Compared
Not every corner detail called a chamfer is actually a straight triangular bevel. Three profile families cover most of what precast drawings actually call for, and mixing them up leads to the wrong strip being ordered.
Standard Triangular Chamfer
This is the classic 45-degree bevel formed by a strip with two equal legs. It is the default choice for structural precast because it is the simplest and cheapest profile to mold, stock, and install, and it removes the maximum amount of fragile material for the smallest possible loss of section.
Bullnose or Radius Corner
A rounded corner strip produces a soft, continuous curve instead of a flat bevel face. Architects specify bullnose details on visible facade panels, stair nosings, and window surrounds where a harder bevel line would look mechanical. The radius strip generally costs more per linear meter than a triangular strip of similar size, and it is less forgiving of small installation misalignments because any waviness in a curved line is more visually obvious than the same waviness on a flat bevel face.
Drip Groove and Rustication Strips
These are sometimes confused with chamfer strips but serve a different purpose. A drip groove is a small recessed channel cast near the underside edge of a panel to break the surface tension of rainwater and stop it from tracking back along the soffit and staining the face below. A rustication strip creates a decorative recessed line, often used to simulate a joint pattern on a large precast panel. Both can be combined with a chamfer on the same edge, but neither one removes the corner impact risk the way a true chamfer does, so specifying a drip groove alone on an edge that will be handled and stacked is not a substitute for a chamfer strip.
Standard Chamfer Sizes and How to Choose One
Chamfer strip sizing is normally described by the length of the two equal legs of the triangular bevel, such as 3/4 inch (19mm) or 1 inch (25mm), though metric plants commonly specify 10mm, 15mm, 20mm, or 25mm strips. The right size depends on the element's exposure to impact and its reinforcement cover requirements.
- 10mm to 15mm: light architectural panels, interior precast, decorative trim
- 20mm: standard structural beams, columns, and wall panels handled by crane
- 25mm and above: heavy structural precast, bridge girders, and elements with frequent handling cycles
- Custom sizes above 25mm: tunnel segments, box culverts, and other elements subject to repeated mechanical impact during service life
Oversizing the chamfer is a common mistake. A bevel that is too large can cut into the design reinforcement cover near the corner steel, which is why chamfer size should be confirmed against the structural drawing's cover requirement, not selected by habit. A structural engineer's detail typically states the exact chamfer dimension for this reason, and precast drafters should treat it as a fixed value rather than a rounding choice.
Undersizing is a quieter but equally common problem. A 10mm bevel on a heavy structural element that will be lifted, stacked, and trucked across long distances often still chips, because the bevel is too small to meaningfully reduce the impact stress at the corner. As a general planning rule, the chamfer dimension should scale with both the section thickness of the element and the number of times it will realistically be handled between stripping and final installation, not with the section thickness alone.
How Regional Standards Reference Chamfer Details
Chamfer requirements are rarely written as a single universal rule; they usually appear as a note on the structural or architectural drawing that references a broader concrete standard. In practice, most specifications fall into a few recurring patterns regardless of which regional code framework a project follows.
- A minimum chamfer dimension is stated for all exposed exterior corners on precast elements
- Chamfer dimension is cross-checked against the minimum concrete cover requirement for the exposure class of the element
- Architectural finish schedules specify chamfer or bullnose profile separately from the structural drawing's plain bevel note
- Tolerance on the chamfer line itself, typically plus or minus 2mm to 3mm over a given run length, is defined in the project's concrete finish tolerance table
Because these details are drawing-specific rather than fixed by a single global number, the most reliable practice for a precast producer is to treat every new project's chamfer note as a fresh instruction rather than assuming it matches the previous job, even when the element type looks similar on the surface.
Installing Chamfer Strips Correctly
Formwork Preparation
The form face must be clean and free of old concrete residue before the strip is fixed, since any buildup changes the true bevel angle and creates a visible line defect once the concrete is stripped.
Fixing the Strip
Nailed and stapled strips should be fixed at consistent intervals, generally every 150mm to 300mm, to prevent the strip from bowing outward under the hydrostatic pressure of fresh concrete. Magnetic strips are simply pressed onto the steel bed until the magnets seat fully, then checked for a tight, gap-free line along the joint.
Joining Strip Lengths
Where two lengths of strip meet, the ends should be cut at a matching miter rather than butted square, otherwise a small notch appears in the finished bevel that reads as a visible defect on architectural faces.
Corner Miters
At an external corner, both strips are mitered at 45 degrees so the bevel continues around the corner without a step. This detail is easy to get wrong on a first pour and is worth a template or jig for repeat production runs.
Release Agent
A light release agent on PVC or rubber strips before pour helps stripping, but excess release agent can pool along the bevel line and stain the concrete surface, so a thin, even coat is preferred over a heavy application.
Sequencing With Reinforcement Fixing
Chamfer strips should generally be fixed to the form before the reinforcement cage is placed and tied, not after. Fitting a strip around an already-tied corner bar is slower, increases the risk of dislodging the bar's cover spacer, and makes it harder to achieve a tight, continuous nailing line along the full length of the strip.
Checking the Line Before Pour
A final visual sight-down-the-line check immediately before the pour, standing at one end of the form and looking along the full length of the strip, catches most bowing or misalignment issues while they are still cheap to fix. This single step, taking under a minute per form, prevents a large share of the rejected-edge defects that only become visible after stripping.
Preventing Common Chamfer-Related Defects
Most chamfer defects trace back to three causes: an unfixed or loose strip, a contaminated form face, or premature stripping before the concrete has developed enough edge strength.
| Defect | Common Cause | Fix |
|---|---|---|
| Wavy or uneven bevel line | Strip not fixed tightly enough | Add fixing points every 150mm to 200mm |
| Pitted surface along the bevel | Trapped air along the strip edge | Vibrate concrete closer to the corner during pour |
| Chipped bevel after stripping | Stripped before adequate cure strength | Extend cure time or use accelerated curing before demold |
| Stained line along the edge | Excess release agent pooling | Apply a thin, even coat only |
| Visible notch at a strip joint | Strip ends butted square instead of mitered | Cut matching miters at every joint |
| Strip sticks to concrete on stripping | Insufficient or missing release agent | Confirm release agent coverage before every pour |
Quality teams that track defect data by cause, rather than only recording a pass or fail on the finished panel, generally find that a small number of repeat causes account for the majority of chamfer-related rejections in a given plant. Addressing the top two or three causes on that list typically produces a larger improvement than a general tightening of every step in the process at once.
Magnetic Chamfer Strips and High-Volume Precast Production
Batching plants that pour the same panel or beam profile daily increasingly favor magnetic chamfer strips over nailed alternatives because setup time drops from minutes per strip to seconds. There is no nail hole left in the steel bed, no strip to source repeatedly, and no waste stream of broken PVC offcuts after each pour. The magnetic hold strength must match the concrete pressure at the pour rate used, since a strip that lifts even slightly during vibration will produce a visible seam defect along the entire bevel line.
For yards that already run magnetic formwork accessories such as shuttering magnets and recess formers, adding magnetic chamfer strips to the same steel bed keeps the whole edge-forming workflow consistent across a casting table, which shortens crew training time on new production lines.
Estimating the Reuse Economics
A simple way to compare a nailed strip system against a magnetic one is to track total cost per pour cycle rather than cost per strip. A nailed rubber strip might cost less to purchase initially but requires labor time for fixing and removal on every single pour, plus periodic replacement as nail holes accumulate and weaken the strip. A magnetic strip costs more upfront but removes almost all of the fixing labor and, because it never needs a nail hole, tends to hold its bevel geometry accurately for a much larger number of cycles before replacement.
Bed Compatibility
Magnetic chamfer strips only work reliably on a steel casting bed with sufficient thickness and flatness for the magnet to seat fully. Timber forms, or steel beds with heavy surface pitting or paint buildup, reduce magnetic holding force and are not good candidates for this strip type without first addressing the bed surface condition.
Where Chamfer Strips Are Used Across Different Precast Elements
Precast Wall Panels and Facade Elements
Architectural wall panels almost always specify a chamfer or bullnose along every exposed edge, both for the corner-protection benefit and because the bevel gives panel joints a cleaner, more consistent shadow line once installed on the building facade.
Precast Beams and Columns
Structural beams and columns typically use a straightforward triangular chamfer sized to protect the corner during the heaviest handling stage of their life cycle, which is usually crane lifting and yard stacking rather than final installation.
Box Culverts and Tunnel Segments
These elements are handled repeatedly during casting yard storage, transport, and installation, and often continue to experience mechanical loading from backfill and traffic after installation, so chamfer dimensions on this category tend to sit at the larger end of the standard range.
Precast Stairs and Landings
Stair nosings frequently use a rounded or bullnose chamfer rather than a flat bevel, both for the visual softness and because a rounded edge is less likely to chip under the repeated point loading of foot traffic over the structure's service life.
Bridge Girders and Deck Panels
Long-span precast girders combine large self-weight with long transport distances, so chamfer strips on this category are usually specified at the upper end of standard sizing, and producers frequently add extra fixing points along the strip length to withstand the higher hydrostatic pressure of a deep pour.
Handling, Storage, and Transport After Stripping
A well-formed chamfer only delivers its full benefit if handling practices after stripping continue to protect the corner. Placing timber dunnage strips at each stacking layer, keeping lifting points away from unsupported corners, and padding contact points during road transport all reduce the chance that even a correctly chamfered edge takes a hard enough impact to chip.
- Use timber or foam dunnage between stacked panels to keep corners from bearing point loads
- Avoid dragging panels across yard surfaces, which grinds down the chamfer line unevenly
- Secure transport straps away from the chamfered edge itself to avoid crushing the bevel
- Inspect corners at each handling stage, not only at final dispatch, to catch damage early
Cost Factors to Weigh When Ordering Chamfer Strips
Unit price per meter is only one part of the real cost picture. A full comparison should also weigh reuse count, labor time per pour, and the downstream cost of rejected panels.
- Purchase price per linear meter or per length
- Expected number of reuse cycles before replacement is needed
- Labor time to fix and strip the material on each pour
- Waste and disposal cost for single-use or embedded strips
- Rejection rate reduction attributable to consistent chamfer geometry
A strip that costs slightly more per meter but survives three times as many pour cycles, or removes several minutes of labor per fixing cycle, is usually the lower total-cost option once these factors are added together, even though it looks more expensive on a simple per-unit price comparison.
What to Check Before Ordering Chamfer Strips
- Confirm the exact bevel dimension against the structural drawing, not a general-purpose default size
- Match the strip material to the number of reuse cycles expected per production run
- Check strip length against standard casting bed dimensions to minimize joins
- For magnetic strips, confirm magnet strength against the steel bed thickness and pour pressure
- Ask for a sample section before a full production order to verify bevel angle consistency
- Confirm whether the exposed face requires UV-stable material for long-term outdoor exposure
- Check the supplier's tolerance range on the bevel dimension against the project's finish tolerance table
Frequently Asked Questions
What size chamfer strip should I use on a standard precast panel?
Most standard architectural and structural precast panels use a 20mm chamfer, though the final size should always follow the dimension shown on the structural drawing rather than a default assumption, since reinforcement cover near the corner depends on it.
Can PVC chamfer strips be reused?
PVC strips are designed to stay embedded in the finished concrete and are not intended for reuse, unlike rubber or magnetic chamfer strips, which are removed after stripping and reused across many pours.
Do chamfer strips affect concrete strength?
A correctly sized chamfer does not reduce structural strength; it removes a thin, unsupported wedge of concrete at the corner that had little load-bearing value and was prone to chipping regardless of the chamfer.
Why do some precast panels use rounded corners instead of triangular chamfers?
Rounded, or bullnose, corner strips distribute impact even more evenly than a straight bevel and are often chosen for architectural faces where a softer visual line is wanted, though they typically cost more per meter than a standard triangular strip.
How long do magnetic chamfer strips typically last in production?
Magnetic chamfer strips are built for repeated use across hundreds of pour cycles in a steel-bed batching environment, with the rubber or plastic bevel face wearing out well before the embedded magnets lose holding strength.
What happens if a chamfer strip is not fixed tightly to the formwork?
Fresh concrete pressure will push against any gap between the strip and the form face, producing a wavy or stepped bevel line and, in more severe cases, allowing grout to bleed underneath and leave a visible defect the full length of the strip.
Is a chamfer strip the same as a drip groove?
No. A chamfer strip bevels the corner itself to reduce impact damage, while a drip groove is a separate recessed channel that controls where rainwater drips off a soffit edge; the two are often specified together but serve different functions on the same panel.
Can the same chamfer strip be used on both interior and exterior precast elements?
The bevel geometry can be identical, but exterior elements exposed to sunlight generally need a UV-stabilized strip material if the strip stays embedded, since standard PVC compounds can discolor or become brittle under prolonged outdoor exposure.
How do I fix a chamfer strip that keeps bowing during the pour?
Bowing is almost always a sign that fixing points are spaced too far apart for the concrete pressure at the pour depth being used; adding fixing points closer together, typically every 150mm to 200mm, resolves the issue in most cases.
Do chamfer strips need to be ordered separately for every project?
Standard sizes such as 10mm, 15mm, 20mm, and 25mm are usually stocked in bulk and reused across projects, but custom bevel dimensions, bullnose radii, or project-specific tolerance requirements typically need to be ordered or confirmed on a per-project basis.
Why does a chamfered corner still occasionally chip even when the strip was installed correctly?
Even a well-formed chamfer can chip if the concrete is stripped before it reaches sufficient early strength, or if handling after stripping applies a sharp point load directly to the bevel edge rather than a broader supporting surface, so correct strip installation should always be paired with an adequate cure schedule and careful handling procedures.
Should chamfer strips be inspected before every reuse?
Yes. A quick check for nicks, flattening, or loss of the true bevel angle before each reuse catches a worn strip before it produces a batch of panels with an inconsistent edge line, which is far cheaper than discovering the problem after several pours have already used the same worn strip.